Lilac Toner…Finally!

Okay, so I’m admitting my poor taste in movie watching choices with this anecdote, but it has to happen. Who here has seen Jeepers Creepers 2 (“spoiler alert” ahead)? If you have you know the scene at the end where decades later the dad is sitting, with a shot gun, in front of the Creeper he has crucified to his barn, waiting for it to come alive so he can stop it from wrecking havoc on the mid western plains?  Well, that is sort of how I’ve been with a dairy intolerance. People with gluten issues also have a tendency to notice that dairy causes them the same discomfort, so I’ve been sitting with my imaginary shot gun waiting for the day when yogurt, cheese, and milk mutated into an untouchable food group. I’ve had an inkling for the past few months, but it was all made crystal clear yesterday after I drank a most delicious Nutella Smoothie. 20 minutes later I was hustling to the bathroom and soon I realized I needed to cut my afternoon with the ladies short and be in the comfort of my own apartment. Not cool. The familiar hand pain, nausea, and bloating was apparent, as well as the lack of desire to nibble on much. I fell into bed and took a long nap. This morning I didn’t feel great either and decided to call out of work and hope the stomach pains and feeling of inflammation in my body would subside.

A little stir-crazy from not making anything to eat, I decided to work my homemade beauty recipe magic in the kitchen. For weeks I’ve been looking for a lilac toner recipe and only came up with a very simple one. I decided “hey, I cannot mess up that badly” and decided to try my hand at making my own toner.

Lilac Toner for Rejuvenated Skin

1 Handful of Lilac Flowers

1 Knob of Freshly Grated Ginger

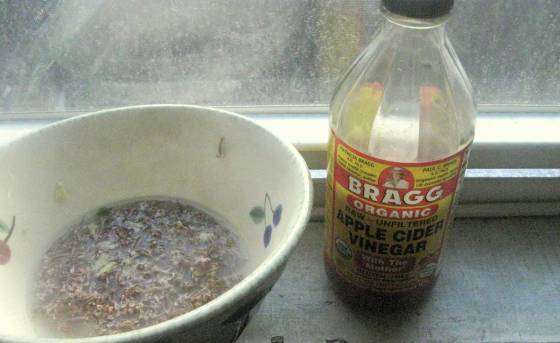
1 Tbs of Apple Cider Vinegar—you need to use the organic kind that has “the mother” (aka visible strains) if you want all the benefits. Braggs ACV is one of the most popular and the smallest bottle they say is only $3.50!

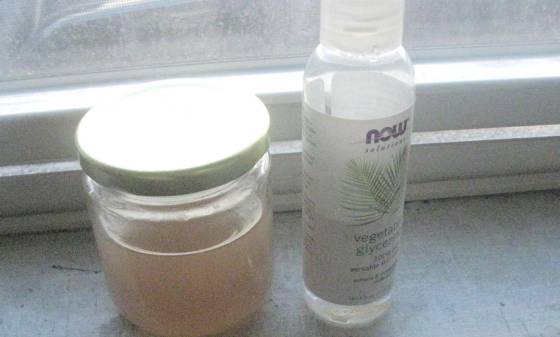
2 Squirts of Vegetable Glycerin

1 Cup of Boiling Water

While water is boiling pop the lilac flowers off the stems and place in bowl. Next grate a knob of ginger over the bowl. When the water is done boiling pour the 1 cup over the two ingredients. Add in the ACV and let steep for 10 minutes (this is a great time to catch up on e-mails or any dishes in the sink you’ve been avoiding.) After 10 minutes, strain into another bowl and throw away the remnants. Add in the small amount of vegetable glycerin and mix with a spoon. Then, carefully, move the final product in a glass jar for storage. Chill in refrigerator.

Compared to what you buy in stores the amount of liquid left over won’t seem like much, but since we are using all natural products we cannot store it for months. Ideally it’s best to find a friend to split the bounty with. When making skincare products with food (think avocados, strawberries, bananas, etc) people usually suggest using everything up within a week. With recipes like the one above, that feature more liquids, I’ve seen suggestions to keep anywhere from a week to one month max. Use your best instincts after a week by frequently smell checking. Also, ACV may be too harsh for sensitive skin types, even when diluted.  If you are concerned feel free to leave the ingredient out or do a skin test on your hand.

Even after one use I could tell I enjoyed this toner more than the green tea one I made a few months back. My face felt a lot more refreshed and I think the ACV helped pick up even more dirt and impurities. Plus the color is pretty awesome. Oh how a terrible yesterday lead to a most glorious morning.

Peel Away ❤

Jocellyn

Lilac Aspirations

Ignore the dirt, please.

I was feeling a little frazzled this morning. I stayed up late and had to wake up early to get the car packed for the trip back to Burlington. Thankfully I was able to swindle my mom into letting me cut some lilac flowers off the bush to take back with me. I love the smell of lilacs. When I used to walk back from the bar with my friend I would pick them off the trees and wear them in my ‘fro (or pretty much shove them up my nose.) I’m planning on making a simple lilac and water toner. I guess I’ll dry the rest and use them when I need them. Pretty exciting!

Oh yes, I also saved a frog (and beetle that hitched a ride on the frog) from a slow, watery death. +1 million bagillion points for me!

I’m going to be moving into the apartment tomorrow, so I’ll try to take pictures of the final product. I’m really excited to make this place (aka the living room) my own.

Peel Away ❤

Jocellyn
Oil Pull Your Way to Pearly Whites (and Healthy Gums)!

I like experimenting with different ways of keeping my body healthy. This is especially true when the practices are cheap and preventative! I learned about this Ayurveda method a few weeks ago after a fitness guru I follow mentioned it in a status update. It’s called oil pulling and it is a great way to increase oral  health, which I definitely need seeing as I have to dish out a lot of money to fix the cavities I developed over the three years of not getting a cleaning! Word to the wise: don’t skip your cleanings!

Oil pulling is something you do right when you get up before eating or drinking, though if you want to you can floss beforehand. Take a tablespoon (or a little less, depending on the size of your mouth and cheek capacity; I have chipmunk cheeks) of sesame oil and swish it around in your mouth for 15-20 minutes. You can also use other types of oil, like coconut, but studies have shown that sesame and sunflower are the best. It is also recommended to switch up the oils you use, which will help you figure out what kind works the best for your mouth.

While doing this you’re whitening your teeth, increasing the health of your gums, and essentially flossing on steroids. If you have tendency to get tonsil stones—those absolutely vile, smelly white balls that appear in the back of your throat—they may come free during the swishing. Just spit out the oil in a cup, hock that sucker up, and throw the oil back in your mouth. Mmmm, sometimes being healthy is far from sexy (do you think I look cute washing my face with oatmeal?), but the results are always amazing. Above all else, make sure you don’t swallow the oil, because you would be ingesting all the bacteria in your mouth that you’ve worked to free. Instead spit it out.

Allow me to show you some absolutely sexy photos of me in the morning!

Pondering the meaning of life.


No swallowing that stuff!


Oh so squeaky clean! Ps: I’m a sezzzy mama in the morning!

Some people oil pull because they believe they are “pulling” toxins out from their body, and the method lists tons of diseases, cancers, autoimmune issues (think AIDS) that oil pulling has cured. While many people don’t believe that to be true—there isn’t going to be a magic cure for everything—there are proven benefits (source). It has been a rather nice addition to the morning routine. I use the 15 minutes to check up on my blog, see what other people are doing over on their sites, and sometimes shower. As long as you don’t become fixated on the clock it isn’t nearly that bad. I love the way my gums feel after, and I think I’ve noticed a few teeth getting a little whiter.


A general go to site for information and forums on oil pulling

2 Videos


Have you heard of oiling pulling? Are there any holistic practices you follow?

Peel Away ❤

Jocellyn


Beat the Bloat

Today we’re going to focus on healthy drinks.

So you have coconut water, water kefir, dairy kefir, kombucha, pure acai juice, fresh pressed vegetable juice, green smoothies, etcetera, etc. I’m not going to lie, I love the occasional kombucha, and I’m having a love affair with my juicer (sorry blender), but the real “super drink” you should be swallowing is much cheaper and easier to find. Yup, it’s good old water.

Water is absolutely amazing. It detoxes the body, makes your hair, nails and skin look fabulous, and nourishes cells. I mean, there is a reason you can go without food for weeks, but you cannot go without water for more than a few days. But, allow me to get off my soap box.  I admit drinking water can take some getting used to. Compared to all the fun flavored drinks we are surrounded by, water can seem a little ho-hum. So, I’m going to give everyone—ladies and gents—a purely vanity based reason to start chugging the clear stuff, because sometimes it’s the fear of looking bad that lights said fire under one’s cheekies.

Sick and tired of feeling bloated and paunchy? Ladies, want to see a defined waist that you are proud to swivel around at the beach in your itty-bitty, insanely overpriced bikini? Drink. Your. Water!

Okay, so bloating sucks, and before I started eating healthier I feel like I was in a constant state of bloat, carrying around a food baby that never seemed to go away. True, I think some of it had to do with the inflammation from eating all that wheat my body so greatly detested, but a lot of it had to do with eating really salty foods. Your body loves to retain salt. When you eat too much salt and not enough water you throw off a crucial balance. So, if you don’t drink enough water, when you do your body is going to grab onto it and not let it go! To counter that, despite seeming counterintuitive, drink more water! You’ll start flushing out toxins and sodium (hit the road bloat!) and your body won’t be so fearful (source).

Want proof? Okay, I have no photo evidence, so you’re just going to have to take my word for it: these past three days I’ve been drinking a lot of water and have slowly noticed my waist line moving in to create a mini-hour glass shape. This is good, because I have an insane aversion to sit-ups! Isn’t it amazing how simply drinking a little more water can cause such immediate effects?! The way you treat your insides will reflect on your outside. Lemme be blunt: eat like crap and you’re going to look like crap.

A refreshing morning pick-me-up

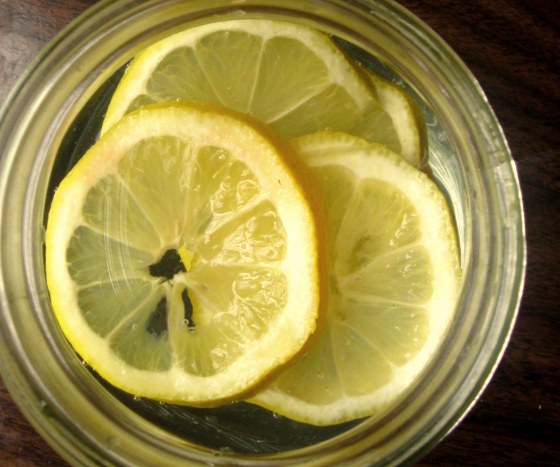
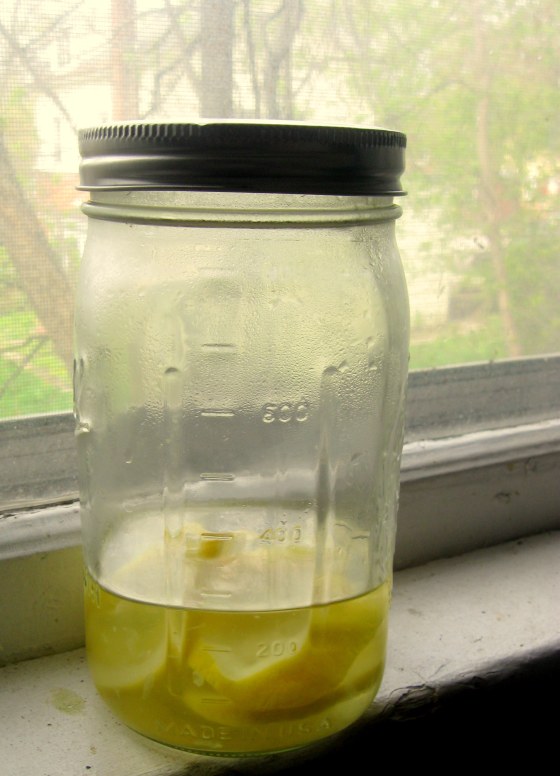
How does one take drinking water from being a healthy chore to a delicious, healthy chore? Easy, add some flavor! And I’m not taking about Crystal Light flavoring or that Mio junk. Think citrus. Go out and buy some lemons. Make four slices and pop it into a mason jar. The one I use is 24 ounces, so adjust accordingly. Add some filtered water and let it sit for about 10 minutes. By then you’ll have some lightly infused water that tastes great. Sip mindfully throughout the day. (I also know people who use limes or cucumbers, so try out different things!)

Check out this link for the amazing benefits of lemon water; I was truly shocked!

Things to watch out for:

Lemon water is acidic and can soften the enamel on your teeth. If this is something you think you’ll be doing on a regular basis, plunk down $2 on 100 straws and save your pearly whites. Also, don’t brush your teeth immediately afterward, because your teeth haven’t harden again. I think the benefits of drinking water this way far outweigh the cons, so just take the cheap, preventative measures.

It can be really tempting to jump on the food-rage bandwagon, and a lot of the drinks mentioned above do have great benefits. But sometimes we need to look for simplicity as we strive towards a healthier lifestyle!

Peel Away ❤

Jocellyn

My Bathroom Has Officially Become My Second Kitchen…Kinda.

Yesterday at work I was cashing this woman out and she couldn’t stop gushing about my skin. Cocky much, but I get this quite often. What can I say—mamma and daddy gave me good complexion genes! However, my skin has gotten so much better ever since I started going sans chemicals. A few months back I wrote about how I ditched my chemical laden moisturizer, instead opting for some coconut oil. I still felt I needed something more and tried to make a homemade cleanser, but realized I didn’t love the consistency and how often I would have to make it. What was I to do? Well, I thought back to my slumber party days in elementary school when us lil’ ladies used to make masks with oatmeal and honey. Was it so 10 year old kitsch that I couldn’t apply (pardon the pun) it in my 20s? Of course not!  So, I went to work Youtubing and Googling until I found exactly what I was looking for: a super basic oatmeal cleanser.

Check out this quick 4 minute clip by the insanely adorable Bubzbeauty!  She’ll explain all the good-for you chemicals found in oatmeal.

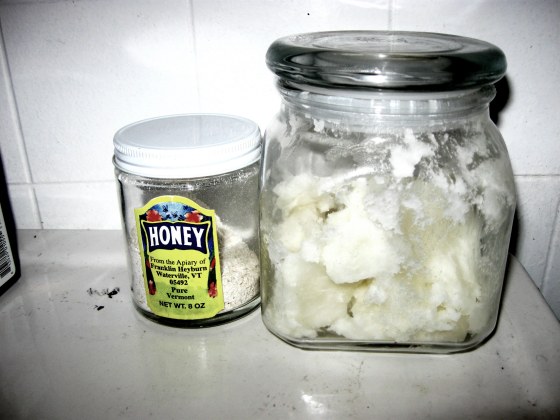
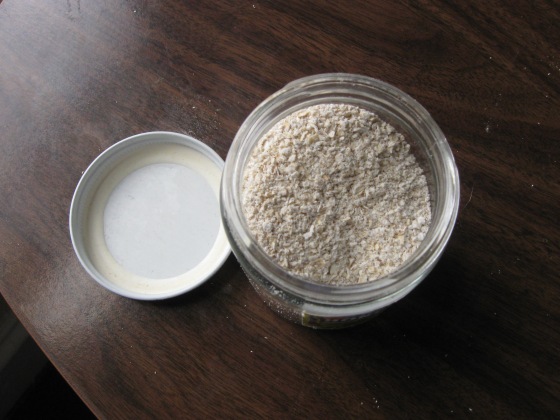
I would make a slight change to how she washes her face, and this is especially crucial for anyone living in a place with old piping. See if you can get your hands on a really cheap food processor or even a coffee grinder. Dump a handful or two of oatmeal into it and blend away. The smaller pieces can go down the drain without worry of clogging, and you’ll still get the great exfoliating benefits. I store mine in this cute little honey jar. A little goes a long way—it takes about a month for me and Chris to go through it all. Not only do you not have to worry about storing it, but you won’t have to make a new batch every week (not that it takes more than a minute!) Just think, you’re paying a few dollars for close to a year’s worth of product!

The oatmeal, unlike the coconut oil, is perfect for every skin type. I hardly break out, and when I do the zits are a lot easier to take care of (I know, popping is wrong…but it happens!) Your face will go through a few ups and downs the first month you use it. Your skin is going “where are all the chemicals?!” and essentially detoxing. I beg of you to push through this period, as you would the awkward phase of a new haircut. Once you come out the other side your skin will be amazingly soft and clear! I’ve been “reviewing” this new facial lifestyle since January, and I’ve got to say I love the results.  Just as it matters what you put into your body, it matters what you put onto it as well. Minimally processed is the way to go, and you cannot get more minimal than this.

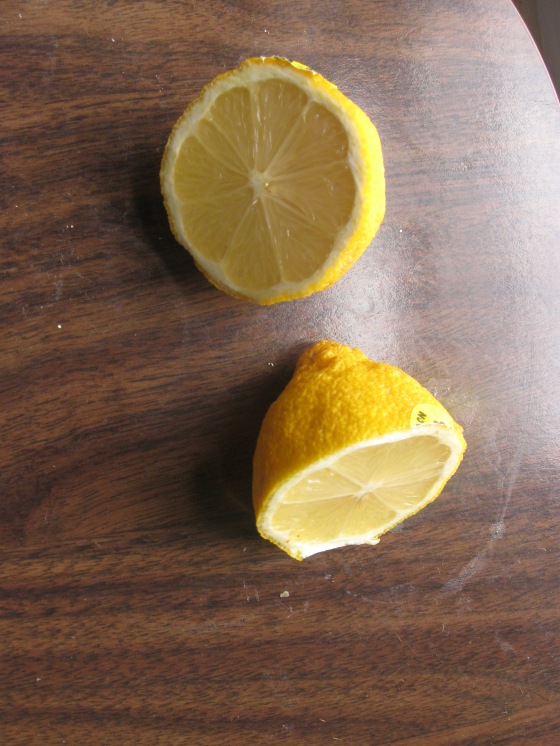
A few months back I also finished up my Clearasil cleansing pads, and I have been going without a toner for quite some time. I wanted something that was gentle, easy to make, and could be stored for more than week. So, this morning I decided to try out a green tea and lemon toner.  I boiled a green tea bag in a cup of water for five minutes. While that was bubbling away, I cut and juiced a lemon that was getting a little old. It’s currently cooling in the fridge. I’ll use it religiously this week and give a mini-review next Saturday!

I love the looks when people ask me what I do to keep my skin so wonderful, as I’m sure they expect me to mention this really expensive cleanser you can only get from some obscure company. Nope, just some good old Quaker Oats, a little bit of organic coconut oil, and (soon) some lemon and green tea toner. When you stop bombarding your body with all these different chemicals, it really starts to thrive.

Peel Away ❤

Jocellyn

Natural Skincare: Lip Exfoliate

Surprise! I said I wouldn’t write on Mondays, but I can squeeze in a quick post that I think is most important for these brutal winter days. All this cold/dry weather has been murdering my skin and kisser. My lips were so flaky that I started resembling the crack-head from Dave Chappelles skits.

Sexy can I, right? Thankfully, I remembered a home-made sugar scrub which is perfect for lips and it doesn’t involve any measuring!


Crack-Lips Be Gone

–          Put a few  pinches of sugar into a bowl. The bigger the sugar crystals the better. I’m a big fan of turbinado sugar, but since nasty lips are a serious, need to be handled now issue, regular table-sugar is fine.

–          Drizzle a little bit of olive oil over the sugar. My lips really needed a  good sloughing, so I made my sugar to EVOO (extra virgin olive oil) favor the exfoliating sugar.

–          Add a touch of honey. Most people have honey that is s squeezable or dribble-able, but I have pure honey which is much thicker, though great for toast. I kept trying to warm and liquify it to add to the other ingredients, but it kept seizing up and forming a clump once it hit the cold EVOO.  Alas, I left the honey out. Aka: I ate that sugary clump when no one was looking; waste not, want not.

After everything has been mixed to your satisfaction, dab a finger in the mix and apply it to your top lip. Make like you’re brushing your teeth. Pretend you are smacking your lips together after you’ve put lipstick on. Rinse, add to the bottom lip, and repeat.  My lips were noticeably softer, less flaky, and I didn’t get irritated. Tonight I’m going to do one more round and see if I can get the last bits off, as I really like wearing lipstick and flakes+lipstick is a huge no-no.


Peel away (all those dead cells)

❤ Jocellyn


BREAKING NEWS!

I’m not done yet. I was about to click “publish” when mi amour ventured out to the living room to harass me. So, not sure if I mentioned this, butttt, I’m really obsessed with the Shit Girls Say videos…and the million parodies that follow; Shit Black Guys Say kind of (cue middle school flashback) “owns my heart.” Chris has been a willing passenger seat viewer, but tonight he introduced me to this gem. Eat your heart out.